
Yes, you can integrate with Lendesk, and the fastest path runs through Gateway and Submit rather than a custom build from scratch. Most technical teams connect through APIs, webhooks, or a CRM connector adapter, depending on how much control they need over the data flow. The first real step isn't writing code. It's requesting partner access and reading the Gateway getting-started documentation so you know what test credentials you'll actually receive.
TL;DR:
- Connecting through Gateway and Submit provides a streamlined integration path, avoiding custom development and reducing setup complexity.
- Security practices demand early validation of sandbox credentials, scope permissions carefully, and adherence to SOC2 standards to ensure regulatory compliance.
- Implementation should follow a defined application lifecycle, with careful handling of status updates, field edits, and response routing to prevent sync conflicts.
- Choosing between APIs, webhooks, or CRM connectors depends on real-time needs, volume, and control over the receiving system, with webhook retries being a common failure point.
- Proper data modeling with clear ownership, validated payloads, and version control prevents integration drift and reduces long-term maintenance issues.
Table of Contents
- What Is Lendesk Gateway vs. Lendesk Submit?
- What Do You Need Before You Start Building?
- API, Webhook, or CRM Connector: Which Integration Method Fits?
- How Does the Application Lifecycle Map to Integration Steps?
- What Security and Compliance Steps Do Canadian Integrations Need?
- How Do You Test a Lendesk Integration Before Going Live?
- What Data-Model Practices Prevent Integration Drift?
- What Are the Most Common Integration Problems?
- What Should Canadian Teams Prioritize First?
- A Faster Way to Handle the Paperwork Behind Every Lendesk Deal
- Sources
- FAQ
What Is Lendesk Gateway vs. Lendesk Submit?
Gateway and Submit are the two sides of the same transaction. Submit is what brokers use to package and send a mortgage application. Gateway is what lenders use to receive it, work it, and respond.
For a developer, the distinction matters because it tells you which side of the workflow your integration touches:
- Lendesk Submit handles application creation, document attachment, and routing to the lender network.
- Lendesk Gateway handles intake on the lender side, application viewing and editing, condition creation, and commitment letter generation.
- Filogix Expert feeds applications into the same Gateway pipeline, meaning lenders often respond to Filogix-originated deals through the identical workflow used for Submit-originated ones, according to Lendesk's own Gateway help center.
Lendesk positions its partner network as a single integration point into a broad Canadian lender network, which is the real value proposition here. You build one connection instead of negotiating separate data formats with each lender.
What Do You Need Before You Start Building?
Before a single API call, get your access and environments sorted. Skipping this step is the most common reason integration timelines slip.
- Request partner access. Contact Lendesk's partner program to register your organization and get scoped into the lender relationships you actually need.
- Get sandbox credentials first. Never request production credentials before you've validated basic connectivity in a test environment. Confirm the sandbox and production base URLs explicitly. They are not always a simple subdomain swap.
- Define the permission set. Ask lender partners exactly who on your side can view applications, who can edit fields, and who can generate conditions or commitment letters. Overprovisioning access is a compliance problem waiting to surface later.
Nailing down environment URLs and credential scope early avoids the wasted development cycles that come from assuming sandbox behavior mirrors production.
API, Webhook, or CRM Connector: Which Integration Method Fits?
There's no single right answer here. It depends on volume, latency needs, and how much of your stack you control.
The event-driven model using APIs and webhooks fits teams that want real-time visibility into application status. A new submission triggers a webhook, your system pulls the full payload through the API, and downstream systems update within seconds. This is the right call when brokers or underwriters expect near-instant status changes in their own dashboards.
The connector or adapter model fits teams running a commercial CRM or loan origination system where direct API wiring isn't practical. Instead of building custom endpoints, you route data through a pre-built adapter that translates Lendesk's payload structure into your CRM's native objects.
- Event-driven APIs and webhooks: best for real-time status sync and custom underwriting tools.
- CRM/portal connectors: best when your team doesn't own the receiving system's codebase.
- Batch or SFTP-based ETL: best for high-volume, non-urgent reconciliation, such as nightly portfolio syncs.
Batch processing still has a place. If your use case is end-of-day reconciliation rather than live status updates, a scheduled SFTP pull avoids the operational overhead of maintaining webhook listeners.
Pro Tip: Build your webhook receiver to be idempotent from day one. Lendesk, like most event-driven platforms, can redeliver the same event more than once, and a receiver that isn't designed to handle duplicates will silently create double conditions or duplicate commitment records.
How Does the Application Lifecycle Map to Integration Steps?
Every Lendesk integration eventually has to implement the same sequence of events, whether the application originated in Submit or came through Filogix Expert. Understanding this lifecycle before you write a line of integration code will save you from rebuilding your event handlers twice.
- Submission and notification. The lender receives the application and a notification fires, typically by email in enterprise setups. Your integration should log the received timestamp and application ID immediately.
- Application list view. The application appears in the lender's Gateway queue. Confirm your integration correctly reflects status changes here, since this is where underwriters first interact with the deal.
- Field editing. Lender-side users can modify broker-supplied fields. This is the step most integrations underestimate. If your system also holds a copy of that data, you need a clear rule for which side wins when both have touched the same field.
- Condition creation. Underwriters attach conditions to the application. These need to sync back to the broker side with enough context that a broker's team knows exactly what's outstanding.
- Commitment letter generation. Once conditions are satisfied, the commitment letter is generated, per Lendesk's documented workflow. This step should trigger a status change your integration can act on.
- Response. The final response payload, including for applications that arrived through Filogix flows, needs to route back to the originating broker system with matching identifiers.
Get the field-editing step wrong and you'll spend more time debugging sync conflicts than you spent building the integration itself.
What Security and Compliance Steps Do Canadian Integrations Need?
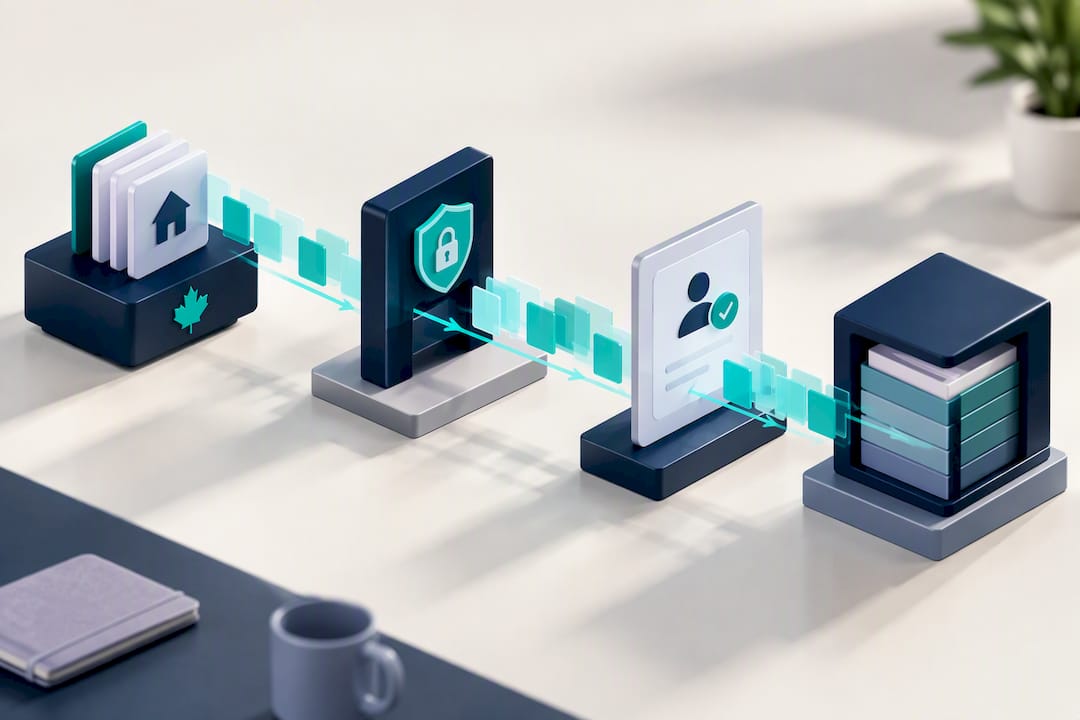
Data handling around mortgage applications carries real regulatory weight, and Lendesk's partner materials point to SOC2 as a baseline trust signal for enterprise integrations. Confirm this posture directly with Lendesk and with each lender partner rather than assuming it covers every data flow you're building.
Three things to lock down before production:
- Vendor security checklist. Confirm SOC2 audit status and ask lenders what their own security review process requires from integration partners.
- Data residency. Verify where application data is stored and processed, and make sure your own logging and storage practices don't move that data outside Canada without a documented reason.
- Secrets management. Rotate API tokens on a fixed schedule, and scope integration accounts to the minimum permissions each function actually needs. A reporting job should never hold the same credentials as your commitment-letter generator.
How Do You Test a Lendesk Integration Before Going Live?
An acceptance test needs to walk the same path a real deal takes, end to end, not just hit individual endpoints in isolation.
- Submit a test application and confirm the notification event fires with the correct application ID and timestamp.
- Open the application in the Gateway list view and verify the status reflects "received" accurately.
- Edit a broker-supplied field and confirm the change propagates without overwriting unrelated fields.
- Create a condition and verify it appears on both the lender and broker side with matching text and due dates.
- Generate a commitment letter and confirm the resulting status transition and document reference are captured correctly.
- Send a response and verify the originating system receives it with no missing identifiers.
Build retry logic into your test harness. Roughly one class of integration bug never shows up until you deliberately force a webhook redelivery or a delayed API response, so your acceptance suite should simulate both. Surface every failure with the application ID, the step name, and a timestamp in your logs. That trio is what turns a vague support ticket into a reproducible bug report. A validation mindset borrowed from fraud-detection workflow design applies well here too: verify at every handoff point, not just at the start and end.
What Data-Model Practices Prevent Integration Drift?
The single biggest mistake teams make isn't a coding error. It's skipping the data-modeling conversation before they start mapping fields.
Define a canonical deal model first. Decide, field by field, whether Lendesk or your own system is the source of truth, and write that decision down somewhere your whole team can see it. Don't copy every field your CRM tracks into the lender application model. A minimal canonical structure with explicit ownership rules and conflict resolution is far easier to maintain than a mirror of your entire CRM schema.
- Assign one authoritative source per field, not per record.
- Log every field-level change with a timestamp and the system that made it.
- Validate incoming payloads against a schema before they touch your database.
- Treat any schema change from Lendesk's side as a breaking change until proven otherwise.
Pro Tip: Keep a change log of every field mapping decision your team makes, including the ones you reject. Six months from now, someone will ask "why doesn't this field sync both ways," and having the original reasoning on record saves a half-day of archaeology.
Related reading on structuring intake data before it hits your pipeline: mortgage document automation and pipeline management practices both cover adjacent field-ownership patterns worth borrowing.
What Are the Most Common Integration Problems?
Most Lendesk integration failures fall into a short list of repeat offenders.
- Missing webhook retries. If your receiver goes down for even a few minutes, unhandled retries can mean lost events.
- Schema mismatches. A field that used to be a string becomes a nested object, and nothing downstream expected that.
- Permission errors. A lender-side user tries an action your integration didn't scope them for.
- Token expiry. Expired credentials fail silently unless you're logging authentication errors explicitly.
When you escalate to Lendesk support, bring a reproducible test case with the exact application ID, timestamp, and payload involved. Vague bug reports get vague answers.
What Should Canadian Teams Prioritize First?
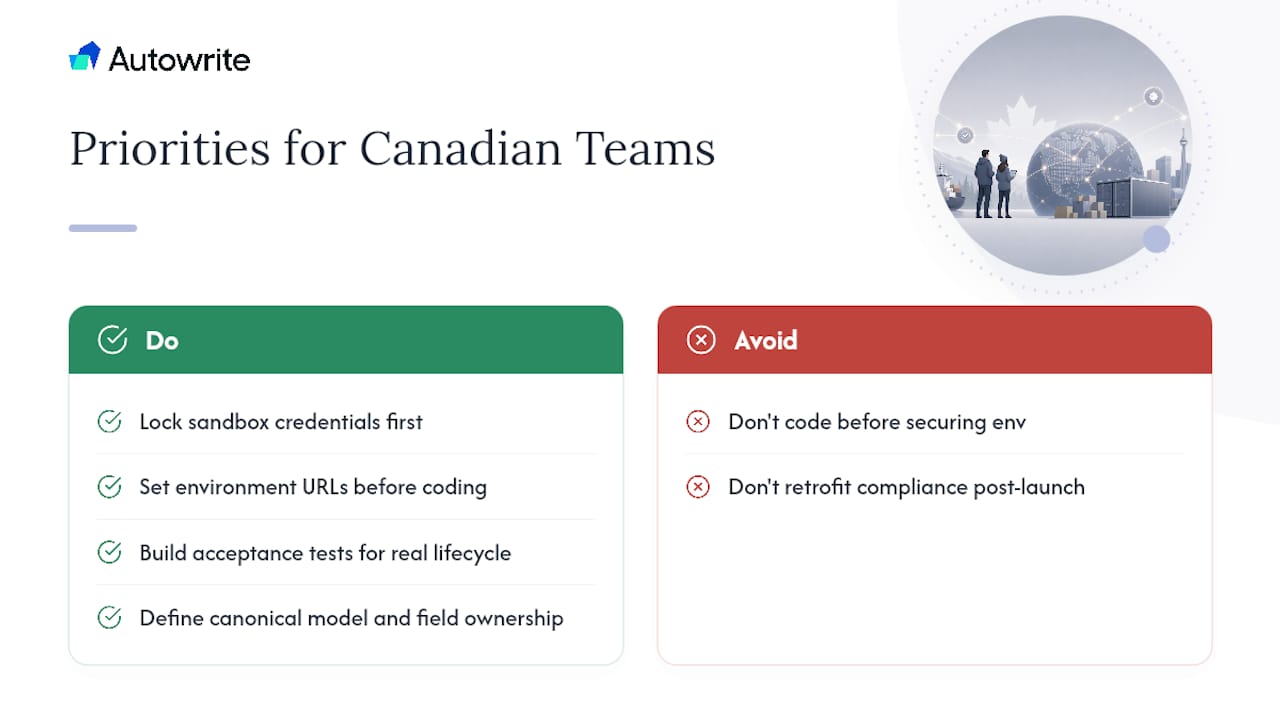
Teams that struggle with Lendesk integrations almost always skipped the boring part: locking down sandbox credentials and environment URLs before writing a single handler. Do that first, and build automated acceptance tests around the real lifecycle, not just isolated endpoint calls.
The technical work matters less than the data-governance decisions made before it starts. A canonical model with explicit field ownership prevents the slow, invisible drift that eventually forces a full re-architecture. Confirm Canadian data residency and lender-specific business rules early. Retrofitting compliance after launch costs far more than asking the right questions up front.
— Anant Bawa
A Faster Way to Handle the Paperwork Behind Every Lendesk Deal
Integrating with Lendesk solves the transport problem: getting application data between broker and lender systems reliably. It doesn't solve the paperwork sitting behind every deal before that data is even clean enough to submit. Autowrite is built for that gap. It automates document intake, classification, and line-level data extraction specifically for Canadian mortgage workflows, so the income statements, down payment proof, and identity documents feeding into your Lendesk submission are already sorted and verified before a broker touches them.
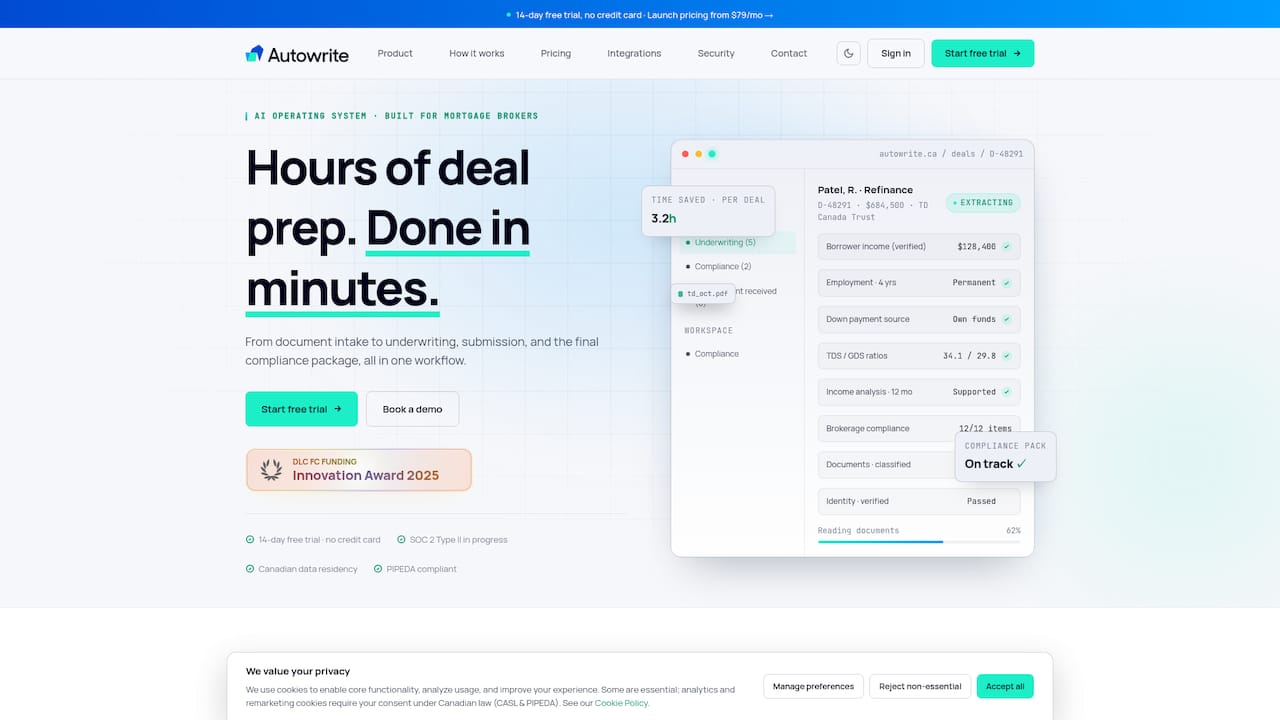
For teams building or maintaining Lendesk integrations, that matters operationally. Cleaner, pre-classified documents mean fewer field-editing conflicts downstream and fewer conditions raised purely because a document was missing or mislabeled. Autowrite plugs into the broker side of that pipeline, cutting the manual review time that typically eats hours per deal.
Plans with various subscription options are available; current pricing details and free trial information can be found on the Autowrite pricing page.
Sources
FAQ
How Do I Get Partner Access to Lendesk?
Contact Lendesk's partner program directly to register your organization and get scoped into the lender relationships relevant to your integration. Sandbox credentials typically come first, followed by production access once testing is complete.
Should I Use APIs or a CRM Connector for My Integration?
Choose event-driven APIs and webhooks if you need real-time status sync and control over your own endpoints. Choose a CRM connector adapter if your team doesn't own the receiving system's codebase and a pre-built adapter already exists for your platform.
Does Filogix Expert Require a Separate Integration?
No. Applications from Filogix Expert flow into the same Gateway response workflow that Submit-originated deals use, so lenders respond through one consistent process regardless of origin.
What Should an Acceptance Test Cover Before Going Live?
A full acceptance test should walk through submission, notification, application list review, field editing, condition creation, commitment letter generation, and response delivery. Each step needs its own validation checkpoint for status, IDs, and timestamps.
Can Autowrite Help With Document Prep Before a Lendesk Submission?
Yes. Autowrite automates document intake, classification, and data extraction for mortgage brokers, reducing manual cleanup before submission through Lendesk. Current pricing details are available on the pricing page.