
Stop chasing documents by email. A structured mortgage document intake process built around one secure portal link, a standardized checklist, and clear file-naming rules cuts the back-and-forth that stalls files for weeks. This article gives you copy-ready template fields, the exact document checklist underwriting expects, and a workflow you can put in place this week. Autowrite is one option worth considering if you want to automate the classification and extraction pieces later.
TL;DR:
- Using a single secure portal link with a standardized checklist reduces processing times and minimizes back-and-forth communication.
- A complete intake form should include deal summary, borrower info, employment, assets, property details, and consent sections; missing key fields leads to rework.
- Underwriting primarily requests identifying documents, recent income and asset statements, and transaction-specific forms, with explicit requests preventing delays.
- Automating classification, cross-checking, and validation of documents can significantly cut manual review hours and reduce exception loops.
- Implementing phased pilot plans focusing on portal adoption and one validation step at a time maximizes automation success and minimizes workflow disruption.
Table of Contents
- Mortgage Document Intake Form Template: Fields to Include
- What Documents Do Underwriters Actually Need at Intake?
- How Should Brokers Collect and Organize Mortgage Documents?
- File Naming and Formatting Rules That Save Hours
- Why Automation and Document Intelligence Matter for Intake
- A Realistic Pilot Plan for Automating Intake
- Ready to Automate Your Intake Process?
- Sources
Mortgage Document Intake Form Template: Fields to Include
A solid intake form template does one job: it captures everything underwriting will need before you ever touch a single document. Skip fields at intake and you pay for it later in re-collection emails.
Structure the template around seven blocks:
- Deal summary — loan purpose, target close date, lender program, purchase price or estimated value
- Borrower contact info — full legal name, date of birth, current address, phone, email
- Co-borrower linkage — relationship to primary borrower, whether income is combined
- Employment and income summary — employer name, position, length of employment, income type (salaried, commission, self-employed)
- Assets and liabilities snapshot — bank accounts, investment accounts, existing debts
- Property details — subject property address, type, purchase or refinance status
- Consent, e-sign, and upload area — authorization to pull credit, upload zone, signature block
On the SIN field, add a short handling note rather than collecting it blind: state that the number is used only for credit and income verification and stored per your privacy policy. That single line prevents a surprising number of borrowers from stalling on the form entirely.
For hosting, you have three practical choices. A static PDF works for firms that still print files but forces manual re-entry into your loan software. An editable Canva-style document looks polished for client-facing use but doesn't collect data digitally. Form builders like Jotform's mortgage intake template sit in the middle. They capture structured data, support conditional logic (hide the co-borrower section if there isn't one), and export directly into a spreadsheet or CRM. Firms publishing their own intake form examples tend to follow this same seven-block structure, which tells you it's close to an industry default rather than a personal preference.
What Documents Do Underwriters Actually Need at Intake?
Underwriting rejects incomplete files for the same handful of reasons every time. Missing pages, expired statements, and unverifiable income sources account for most of the rework. Build your checklist around what actually gets requested twice, not what feels thorough.
Borrower identification: one piece of government-issued photo ID (driver's license or passport), plus a business number document if the borrower operates a corporation.
Income documentation:
- Pay stubs covering the most recent 30 days
- T4s or, for self-employed borrowers, personal tax returns (T1 General plus Notice of Assessment)
- Year-to-date profit and loss statement and business financial statements for self-employed or commissioned borrowers
Asset documentation:
- Recent months of statements for every account listed as a down payment or reserve source, including every page
- Gift letters with proof of the donor's ability to gift, when applicable
- Retirement or investment account statements when used to demonstrate reserves
Purchase and refinance extras: the fully executed purchase agreement with all addenda and amendments when applicable, a homeowner's insurance binder, current property tax statements, and for refinances, a signed retainer along with property title documents. Refinance-specific intake pages, like Advent Legal's retainer form, typically bundle title questions directly with the mortgage questions rather than treating them as a separate ask.
Special cases: commission-based borrowers usually need additional income history to smooth out variability. Non-QM and DSCR-style loans (common on investment property files) require rent rolls or lease agreements in place of traditional employment verification.
One operational habit prevents most of this from cycling back: requesting "all pages" explicitly on every statement request. Borrowers who upload only the summary page of a bank statement are the single most common cause of a second document request.
How Should Brokers Collect and Organize Mortgage Documents?
Email attachments are the slowest way to run intake, and most brokers already know it. The problem isn't awareness. It's that nobody replaces the habit with something concrete. Here's a workflow that does.
- Send one portal link, not five emails. A centralized portal with an embedded checklist gives the borrower a single place to upload and gives you a single place to check status, which reduces email back-and-forth and shortens time-to-close compared to scattered attachments.
- Set triage rules before the first upload arrives. Require full documents (never partial pages), set expiry windows of 30 to 60 days on income and asset statements, and label each checklist item required or optional so borrowers aren't guessing.
- Flag low-confidence uploads immediately. A blurry phone photo of a pay stub should trigger an automatic re-request the same day, not sit in a folder until a processor opens it manually.
- Automate reminders on a fixed cadence. A reasonable schedule: day 2 (gentle nudge), day 5 (list what's still missing), day 8 (escalation call). Waiting longer than a week to follow up on a stalled file is where most brokers lose weeks, not days.
- Assign roles clearly. One person sends the initial portal link and checklist. A second triages incoming uploads against the expiry and completeness rules. A third does the final validation pass before the file moves to underwriting.
Pro Tip: Build your reminder cadence into the portal itself rather than relying on a team member's memory. The brokers who lose the least time to chasing are the ones who never have to remember to chase in the first place.
File Naming and Formatting Rules That Save Hours
Sloppy file names cost your processing team real time every single day. A pay stub uploaded as "IMG_4471.jpg" tells nobody anything.
Adopt a fixed naming convention and enforce it at the portal level: BorrowerLastName_DocType_YYYYMMDD. So Chen_PayStub_20260214 or Rodriguez_BankStatement_20260201. It sounds small. It isn't. A processor scanning a folder of forty files can sort and verify in seconds instead of opening each one.
PDF beats a photo every time, but borrowers will submit phone photos regardless of what you ask for. Set the bar explicitly: full page visible, no glare, no cropped edges, all pages included even if a page says "intentionally left blank."
Before any file moves to underwriting, run a three-point validation: every page is present, the statement period is current (not the wrong month), and the numbers corroborate across documents (does the pay stub income match what's on the tax return, roughly).
- Tell borrowers exactly what "acceptable" looks like in the request itself, not after they've already uploaded something wrong
- Sample portal copy: "Please upload all pages of your last 2 months of bank statements. Photos are fine if the full page is visible and readable. Files under 2MB may be blurry. Name each file with your last name and document type if possible."
Pro Tip: Send one example of a correctly formatted document alongside your checklist. A single visual reference cuts wrong-format uploads dramatically compared to text instructions alone.
Why Automation and Document Intelligence Matter for Intake
Classification is where most manual hours disappear, and it's also the easiest thing to automate first. Basic OCR reads text off a page. It doesn't know the difference between a T4 and a pay stub unless someone builds a rigid template for every possible layout, which breaks the moment a lender changes its form design. Intelligent document processing works differently: it classifies by content and context, then extracts fields with enough structure to cross-check them against other documents in the same file.
That cross-document validation is what actually kills the exception loop. If a pay stub shows $6,200 in monthly income but the tax return implies something closer to $4,800, a validation layer flags that mismatch before it reaches an underwriter, instead of after.
Treat intake as triage, not filing. The goal isn't to open every document a borrower submits. It's to have a system flag the ones that are missing, expired, or contradictory, so a human only touches the files that actually need judgment.
If you're deciding where to automate first, start narrow:
- Automate classification before anything else. Sorting incoming files into the right bucket is the highest-volume, lowest-judgment task on your desk.
- Automate required-document reconciliation second, so the system tells you what's still outstanding rather than a person checking a spreadsheet.
- Pilot one field extraction, income is the obvious candidate, before expanding to assets or liabilities.
The sequence described applies to some solutions designed for Canadian mortgage brokers, focusing on document intelligence rather than generic OCR. Results and case studies will be added here as they become available.
A Realistic Pilot Plan for Automating Intake
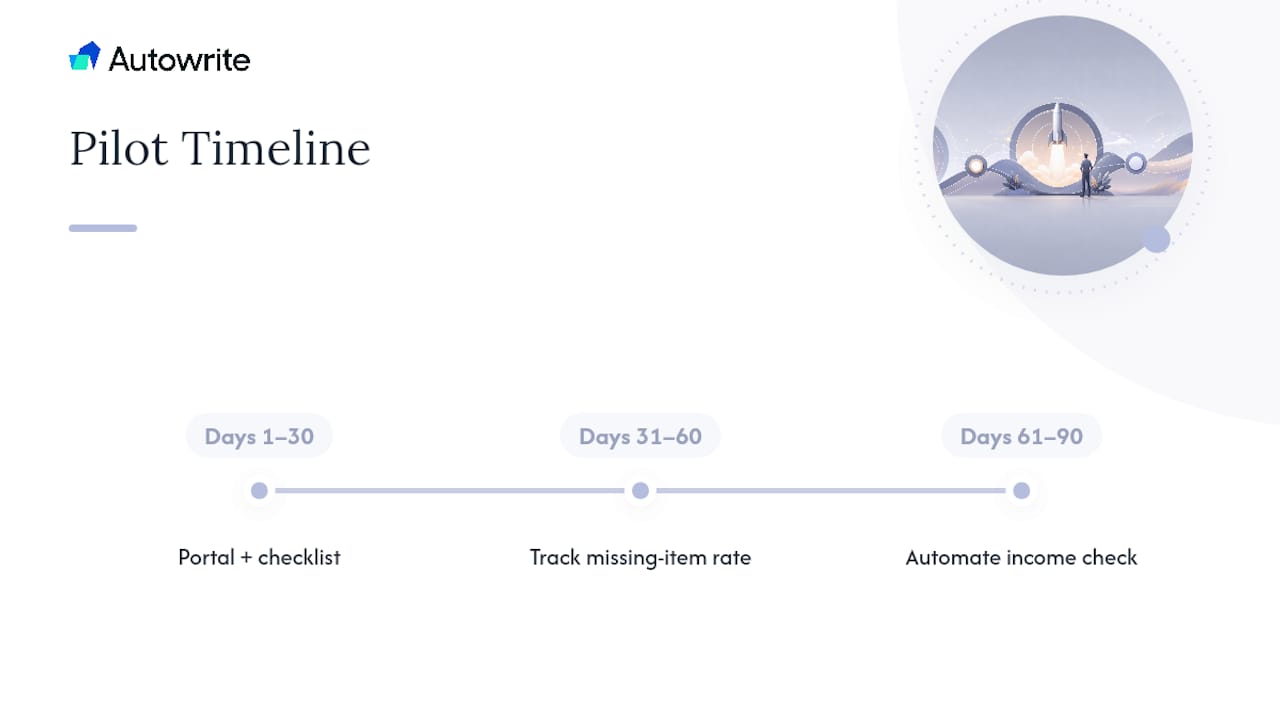
I'd run this in three phases, not one big rollout. Days 1 to 30: replace email with a single portal link and checklist for every new file, nothing else changes yet. Just measure how many files come back complete on the first try. Days 31 to 60: track your missing-item rate and how many files need a second collection round. That number is your real baseline, not a guess. Days 61 to 90: automate exactly one validation step, income cross-checking is the highest-value target, then expand from there.
The pilots that fail usually try to change five things at once, give borrowers vague instructions, or ignore that most uploads will be phone photos whether you ask for PDFs or not. Fix the instructions before you fix the technology.
...
— Anant Bawa
Ready to Automate Your Intake Process?
Templates and portals fix the chasing problem. They don't fix the hours you still spend reading every pay stub and retyping numbers into your loan software. Some AI-powered tools aim to close that second gap for mortgage brokers by classifying incoming documents, extracting the income and asset figures underwriting forms need, and syncing that data into existing workflows instead of requiring brokers to work inside disconnected tools.
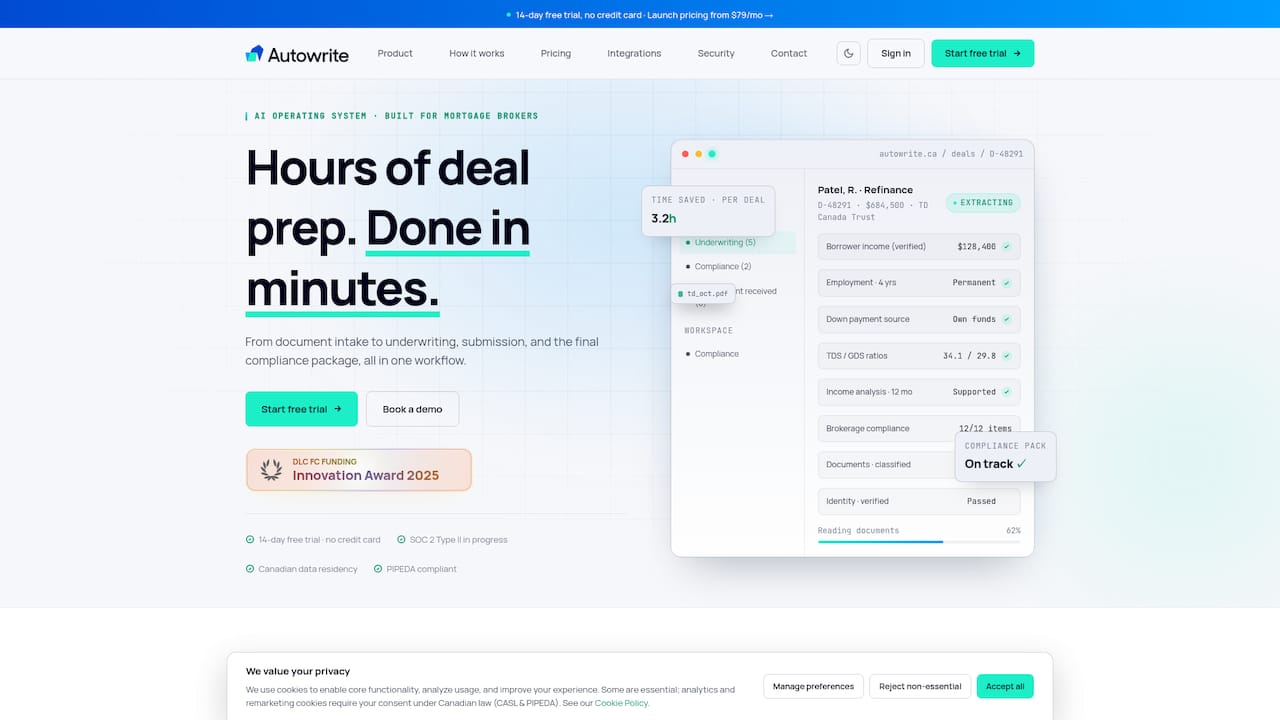
If the checklist and workflow above already saved you time this week, the next logical step is seeing what happens when the classification and data entry run automatically instead of manually. A demo walks through how Autowrite handles a real intake file from upload to underwriting-ready data, so you can judge for yourself whether it fits how your team already works. The trial period gives you room to test it against an actual file before committing to anything.
Sources
- Client onboarding for mortgage brokers: Collect loan docs faster | OnboardMap
- Intake Forms
- Mortgage client intake form template — Jotform